Having a contact form on your WordPress site is crucial because it allows your site users and potential customers to easily contact you. There are a lot of different form plugins out there, and it can be difficult to narrow down which one is best to use. Today, we are going to look at how to add a form using the HappyForms plugin.
As stated above, there are a lot of good form plugins that will allow you to create a customer contact form on your website. Really, the choice comes down to a lot of personal preference options. That being said, you need the right one in place to help people contact you easily.
Why Have a Contact Form on Your Website?
There are a couple of really good reasons to have a contact form in an easy-to-find area on your website. You want to be able to provide customers a way to contact you simply and easily.
You also want to have one to help boost conversions over the site. And forms are not relegated to simply contact. You can use them for discussions, questions and answers, selling products, and much more.
In this article, I am going to show you how to use HappyForms to easily add a form to your website. Let’s take a look at the plugin in question and see what all it has to offer.
HappyForms
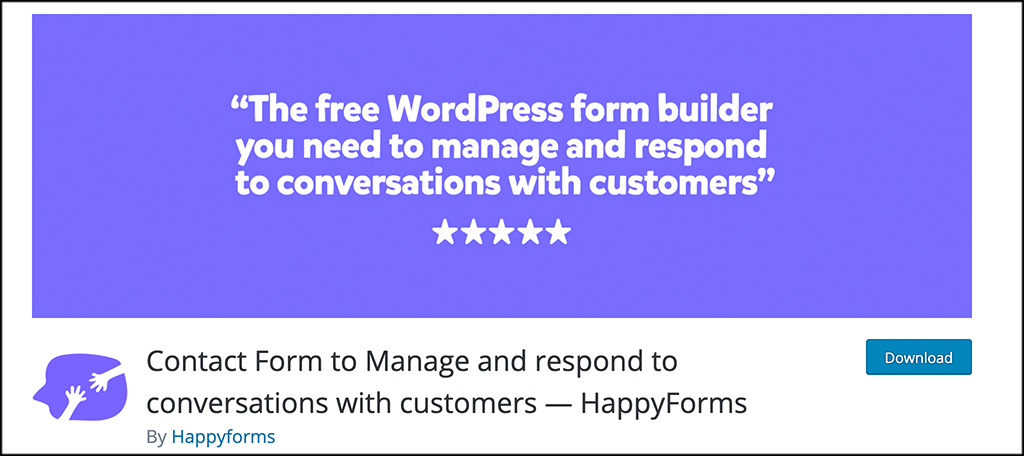
HappyForms provides you with one of the easiest ways to build forms and communicate with your customers. The plugin provides a simple-to-use, drag-and-drop form builder for WordPress.
This means that you can easily add fields, switch them around, and build the form exactly how you want. All this without ever having to mess with any type of code.
The HappyForms contact form for WordPress will allow you to build just about any type of form you can think of. This includes contact forms, lead generation, feedback, quotes, survey forms, and more.
This plugin is so easy to use that we will have it set up and running in no time at all. It provides more conversions, reliable message delivery, no spam messages, free support even for the free version, and a live preview as you build it.
And this is just the start of the features. Other great features and tools the plugin gives you access to include:
- Drag-and-Drop Builder
- Gutenberg Friendly
- Easily Add Forms Anywhere
- Multiple Forms on the Same Page
- Duplicate Forms
- Mobile Responsive
- One-Click HoneyPot Spam Prevention
- 50 Style Controls
- GDPR Compliant
- Unlimited Forms
- Live Preview
Form Fields
It gives you everything you need to build fully responsive forms on your site. The free version will include the following:
- Short Answer
- Long Answer
- Email Address
- Multiple Choice
- Single Choice
- Dropdown
- Number
Let’s get the form plugin installed and set up so that you can start using it to build forms.
Note: There is a pro version of this plugin that gives you access to a lot more fields and features. If you think this is something you need, then feel free to check it out. The rest of this tutorial is based on the free version of the plugin.
Add a Contact Form Using HappyForms
Step 1: Install and Activate the Plugin
Before you can add customer contact forms using the HappyForms plugin, you first need to install and activate it. You can do this by heading over to the Plugins page in the WordPress admin dashboard.
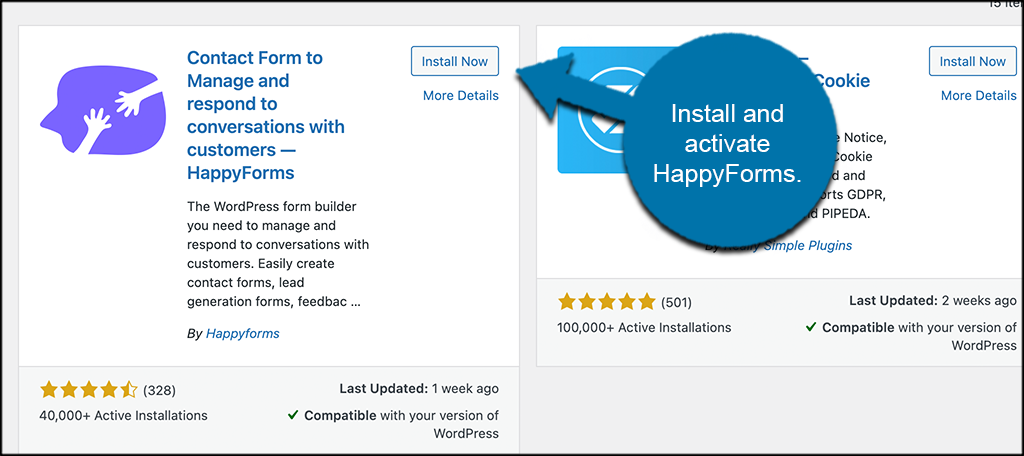
Simply use the search field that is available on the top-right of the page to search the plugin by name. Once you see it pop up, go ahead and install and activate it right from there.
Step 2: View the Sample Form
Now that the plugin is installed, it will provide you with a sample form to either use, view, or copy. You can take a look at that form by clicking on Forms > All Forms, located on the left side menu area of the dashboard.
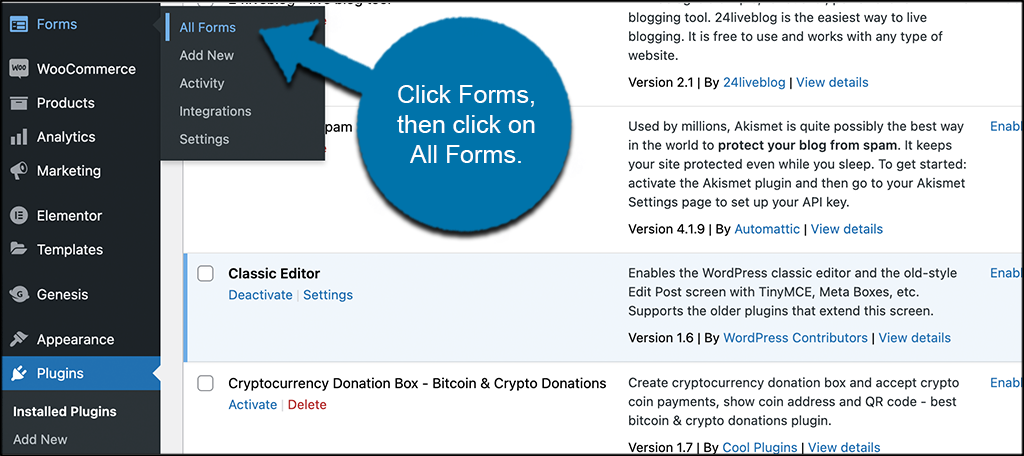
You can see that this is an available option in the menu because you have activated the plugin.
Feel free to view the default form and see how it is set up if you would like. From here, you can add your own using the fields that are included in the free version of the plugin.
Step 3: Add a New Form
Click on Forms > Add New, on the left menu area of the dashboard.
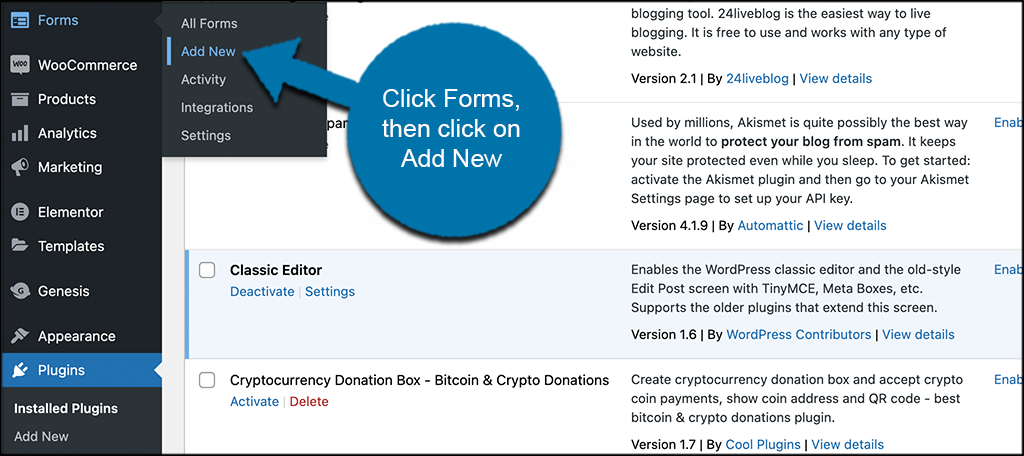
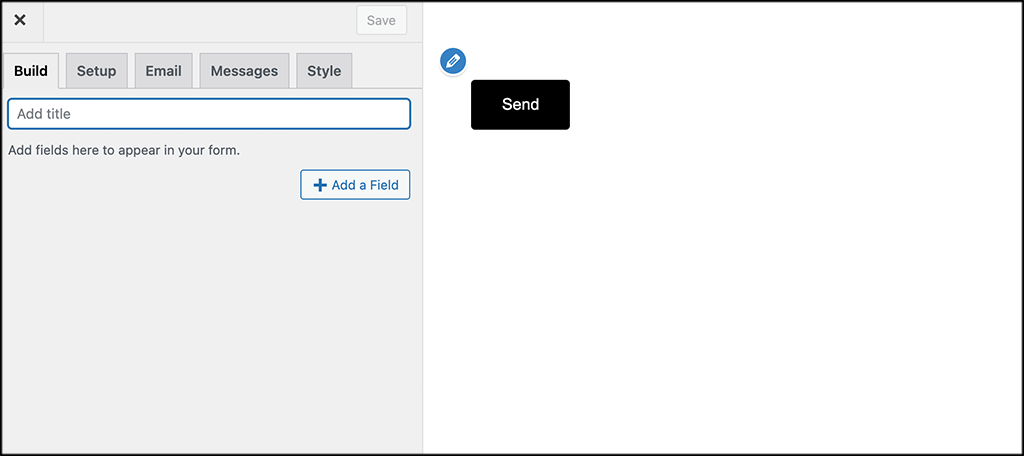
This opens up a blank drag-and-drop builder for a form. From here you can start adding fields.
Step 4: Add Form Fields
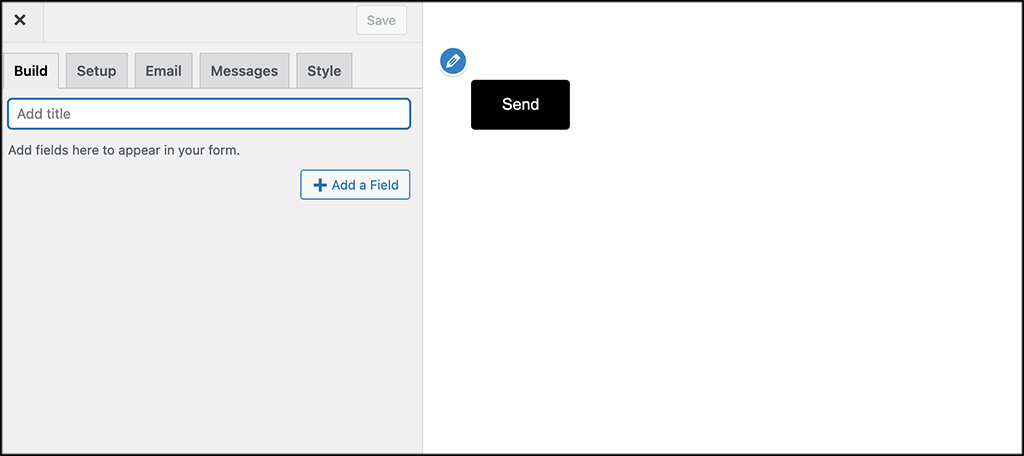
You can now start adding fields to the form. To do so, click on the “Add a Field” button.
When you do, a dropdown menu will display showing you all the available fields.
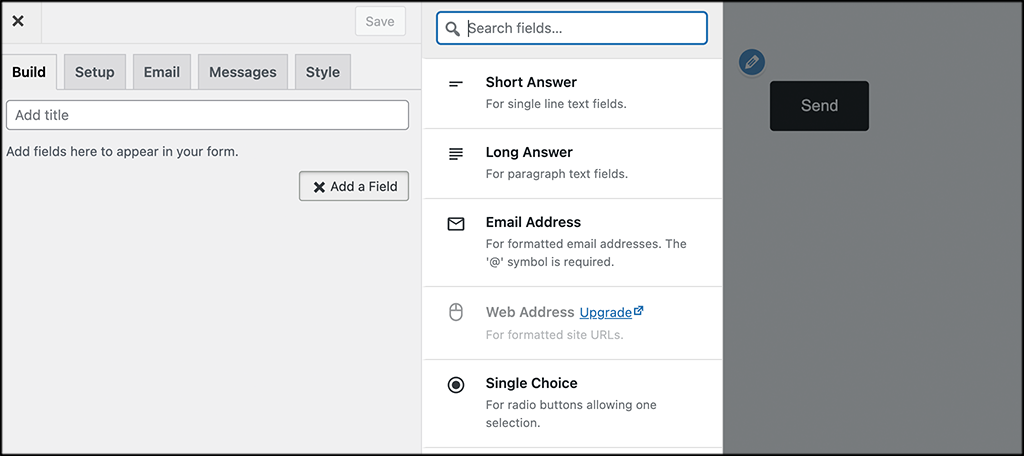
Click on any of the fields you want to add to the form. Continue to add as many as you want.
Note: You will see a lot of grayed-out fields as well. These are only available for use if you have the pro version of the plugin.
Step 5: Drag and Drop Form Field Positions
When you have added form fields and set them up how you want, go ahead and drag and drop the fields where you want them to be.
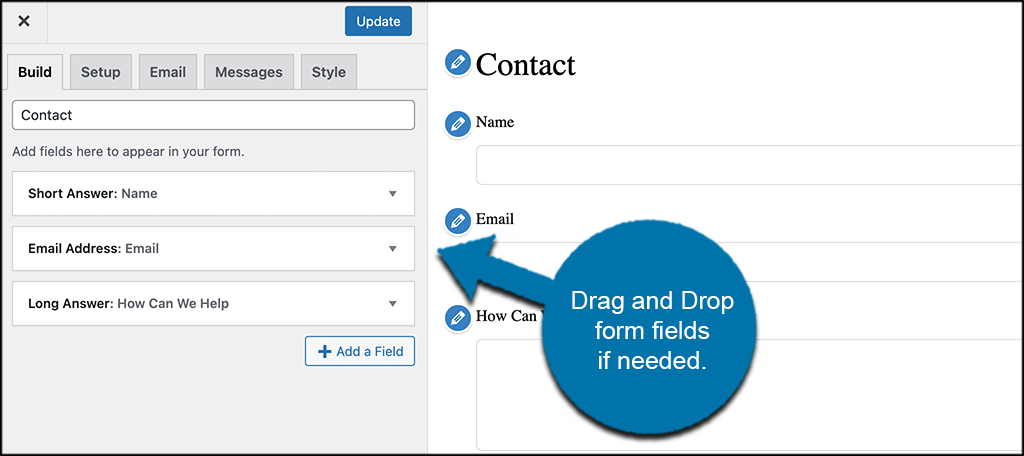
You notice that the form preview is located on the right. You can see exactly how your HappyFrom will look on the front end of your website.
Step 6: Finish Setup and Styling
You can see that there are some other tabs to go through on the top-left of the form. These include:
- Build
- Setup
- Messages
- Style
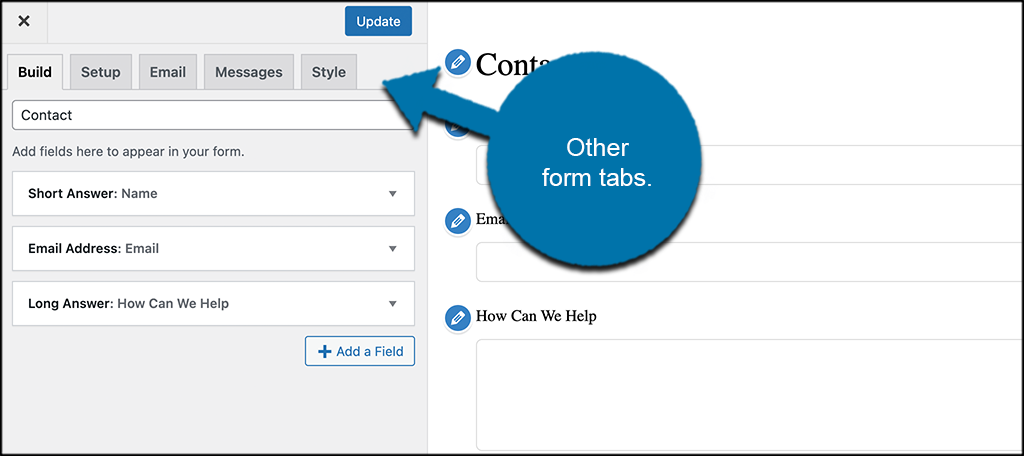
These are the common tabs you will find on any form builder. Go ahead and go through them. Create a notification response, set up the email you want the form to go to, and style your forms how you want.
Note: You will notice a lot of grayed-out configurations. Again, you will need the pro version of the form plugin to access these.
Step 7: Add Form to Page
Now that your form is finished, you want to add it to a page. Simply copy the shortcode given for the form and place it on a page.
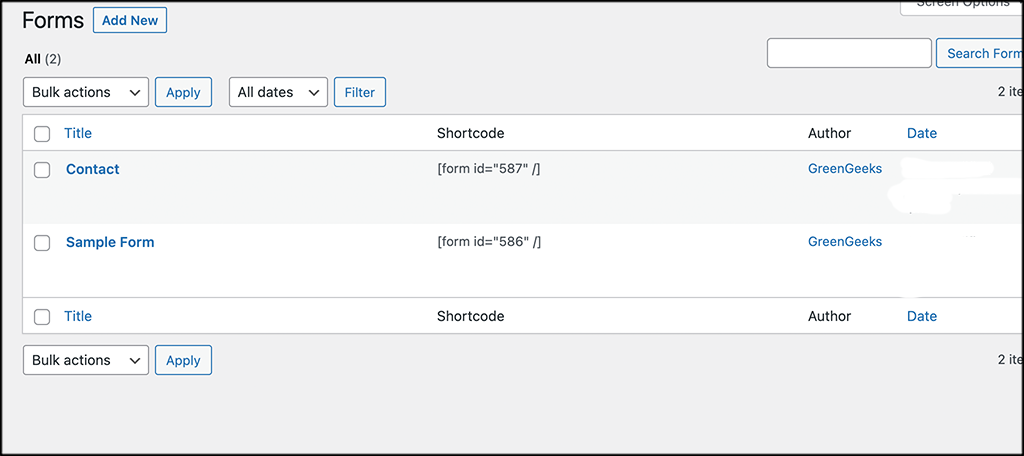
You can select any of the shortcodes from any form you built. You may also select multiple shortcodes to put more than one form on a page
Step 8: View the Live Form
Go ahead and publish the page you added the form to and then take a look at the live form on your site.
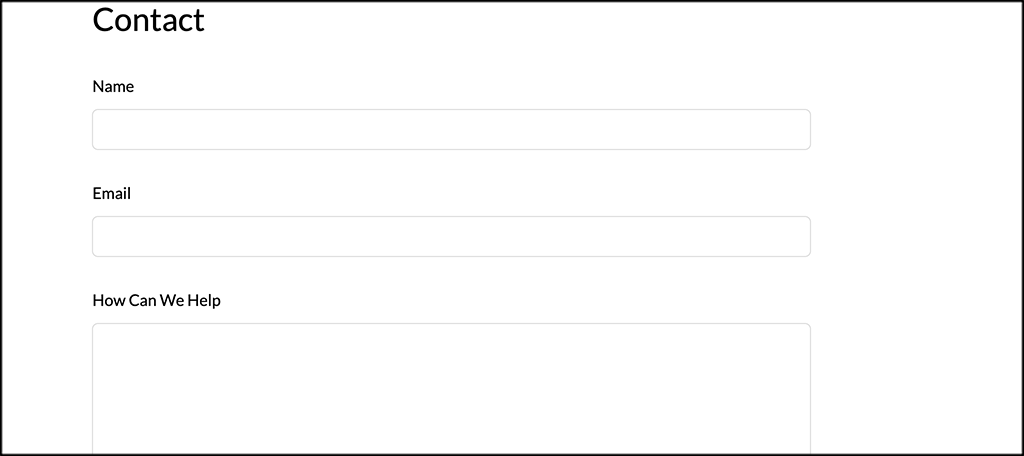
If you want to make any adjustments or styling changes, then visit the editor and make updates.
That’s it! You can use the steps above and create as many forms as you want.
Adding Form Using a Widget
The form you created with HappyForms can also be added to any widget area. Simply go to your widgets page, drag a text widget to the widget area you want the form to display on, and then add the shortcode to the text widget.
Your form will display automatically in the widget area. You can also do this as many times as you want with as many different forms as well
Final Thoughts
Adding forms to your website allows for better conversions and gives your audience an easy way to contact you when needed.
I hope this tutorial was able to show you how easy it is to add forms to your site using the HappyForms plugin.
Have you been adding forms using a different plugin? What is your favorite form plugin?
